Saturday, July 30, 2011

A Putt-Putt Boat in Glued-Lapstrake

In 2003, things were going flat-out in my workshop in Wynnum, Queensland, Australia. There were two of us working full-time, and one working part-time, and yet we were building up to six boats at one time. In addition there was design work to complete, as well as day-to-day stuff like retail sales and sorting through the accounts. At the time it was a kaleidoscope of activity, with fourteen-hour days and doubts about where the money would come from, but I still miss those days....
Busy Workshop - at the time I think there were five boats under construction and several repair jobs in progress, like the one in the foreground. We were even doing things like repairing a Wurlitzer Jukebox at the same time!

Anyway, one of the many interesting projects that we were approached to build was a Putt-Putt Boat of the old style. Our customer wanted a simple, low speed launch to take himself and his wife on gentle outings upon the Fitzroy River in Rockhampton. Bob's wife had been diagnosed with a serious illness, which complicated the process, but they both looked forward to lazy, quiet days on the river. Their boat would be called, "Picnic".

As was often the case in those days (and is still the case today!) I was frequently called on to choose a suitable design as well as to build the boat. I knew of a 14 ft Putt-Putt design from the board of Australian designer David Payne, which had a very attractive shape and suited the function very well. I had seen a number of these boats on the water, but they all seemed to lack buoyancy when loaded with the engine and a crew of two or more adults. In addition, they seemed to trim by the bow, which was not surprising given the very fine sections up foreward, and the small size of the boat.

With this in mind, I suggested to the owner that we lengthen the boat on the same sections to increase the displacement without altering the character. My suggestion was to increase the station-spacing by around 10% to end up with a boat of 15ft 6ins (4.724m) on the same beam. I contacted the designer, David Payne, and was given permission to go ahead with the proposal. In addition to the length increase, I moved the location of the engine aft slightly to further aid the lack of buoyancy in the foreward sections. All of this proved to be highly successful in use.

The matter of power-plant was extremely important, and I was lucky enough to have the perfect engine on hand. It was a brand-new (but 25 years old) William Olds & Sons 6hp Type "H" 4-stroke marine petrol (gasoline) engine.
The beautiful Wm Olds & Sons 6hp Type "H" - 25 years old, but still brand new!
 The engine was a nice match for the boat, being relatively light, very smooth-running, and designed to operate at the correct speed for direct drive without reduction gears.

Planking complete, and working on shaft angles. The "skeg" is just a thin MDF pattern - much larger than the proper skeg would end up being. Note the essentials - a string-line and a calculator!
Construction proceeded well, although we changed the lining-off of the planking compared with what had been suggested on the plans. Lining-off is a matter of taste and does not have any structural impact on the boat. It is amazing just how much a millimetre of change in a line can alter the aesthetics of a hull. The thing is to trust your eye.

Engine installed and the coaming being laminated into position. Lamination of the coaming used up lots of clamps. The shape was quite complex, as it had to take into account the hollow sheer-line and the substantial deck camber across the foredeck
I did a full-size lofting of the lower part of the hull in order to calculate the propeller shaft line and to draw up the engine mounts. The skeg  was completed and attached before the boat was turned upright.

Most of the construction work completed, and awaiting details such as the rudder and the final engine installation.
Doug and Rhonnie looking relieved after lowering the engine into place for the final time!
This is the roof framework to carry the canvas-work over the cockpit. Lots of curves and bends so that it mirrors the sheer-line and shape of the boat.
This photo taken during painting of the roof framework shows how complex the shape was to construct. This was my design - not part of the plans
The finished boat, but without the tailored canvas sunroof. The four uprights were able to fold down, and were easily detachable
Simple engine installation, as befits such an elegant craft
Oiled floorboards were individually spiled to shape, and we stamped them with numbers to aid re-installation when required
Details of deck arrangement and brass rubbing strips
"Secret" launching before owner pick-up.
Power trials with engine at a low throttle setting. The easily-driven hull moved nicely with the engine running gently and quietly. This photo was taklen before we had installed a foreward thwart, which accounts for Doug's head being so low!
Here you can see the propeller and the rudder arrangement (as well as some of the local artwork on my workshop walls)
The end result of this job was a simple, efficient and satisfying boat - everybody was happy.

Friday, July 22, 2011

Distributing point-load stresses in plywood boats

A very common fault seen in plywood boat construction and design is that of having structural components terminate in the middle of a plywood panel. The most common case is that of thwarts attaching to topside panels, but there are many others. Sometimes the designer or builder will have allowed for this by incorporating other stiffening structures on the outside of the boat, such as spray rails, but often the structure is inadequately supported.

What frequently happens in such cases is that a crack eventually appears where the hardpoint in the structure terminates against the flexible panel.
Here is an example of what I'm talking about. The two vertical strips of bare plywood on the white topside panel are where I've been stripping paint in preparation for gluing some reinforcing frames on either side of the thwart.

In the photo above, the boat had very flimsy plywood hull panels, and the the main thwart (painted grey) terminated against the topside panel without any framing to distribute the stresses. Eventually, cracks will appear around the edges and corners of the thwart, because the plywood can move and flex, but the thwart is relatively immovable. This is a very bad example of design. What I was doing as part of this repair job was to strip paint on either side of the thwart so that I could glue and screw in a pair of frames on each side of the boat to distribute the point loads out into the gunwale and the chine joint.

Here is the result with the new frames in position. I do not like this boat, but the panel cracking problem has hopefully been solved.
In my own designs, I try to avoid any point loads from structural components which terminate in the middle of panels - here are a couple of examples: -

This is the thwart structure on First Mate. One side of the thwart is supported by the midships ring-frame and the other side is supported by half-frames which run from the inside of the gunwale down to the very strong glass-taped joint between the topside panel and the chine panel.
The stresses are gently distributed out into the structure, and both ends of the half-frame coincide with a very strong part of the boat's hull.
This is the internal structure of Periwinkle. Note how once again, the thwart is supported by either a ring-frame or a half-frame with terminates against the gunwale and a strong plank lap joint. Note also how the side deck knees run down to finish on a strong plank-lap joint.
Side deck knees in First Mate, tapered and running down to finish on the very stiff joint between the topside panels and the chine panels. The two cross-braces are just temporary, and help to hold the line of the topside panels fair until the side decks are attached. 
Modern plywood hulls can be wonderfully strong and yet still be light, but the flexibility of the material must be understood if the boat is going to last a long time.

Monday, July 18, 2011

Fitting Different Rigs to an Existing Boat

One of the great joys of owning and/or building a small wooden sailing boat is that there is plenty of opportunity for experimentation. For some reason it doesn't seem right to go shifting things around on a 'glass production hull, but wooden boats lend themselves to modification. With high-quality epoxy and fastenings, the end result should be as good, or better, than the original work.

I've mentioned previously that rig modification was something which interested me from before I left school. I had been brought up sailing racing boats at the local club, all of which had modern, deck-stepped rigs with lots of stainless-steel fittings and sails full of batten pockets. Although I loved the sailing, I felt the urge to cruise alone in a boat fitted with a more simple, traditional rig such as a standing lugsail.

Phoenix at about age 20 with her original rig
For me, the first real experiment came when I converted the cruising dinghy my Dad had designed and built. She had been constructed with a deck-stepped Bermudan rig just like all of the racing boats I'd sailed. She was (and still is) a fine boat, but I got it into my head that I'd re-rig her with a Chinese Lugsail (a.k.a. Chinese Junk Rig). I spent a long time on the calculations - far too long, I believe - but that was because I didn't really know how accurate I had to be with all of the proportions, and I was particularly concerned about the location of the centre-of-area of the sail in relation to the centre-of-lateral resistance of the boat.
Phoenix showing how well she could get to windward with her Junk Rig. A nice day in tropical North Queensland.


Accelerating out of the tack and heading off hard on the wind. This rig was exceptionally easy to handle, reef, and furl, and has been one of my all-time favourite rigs. I will be making another one sometime...

After the Chinese Lug rig, I fitted the same hull with about four or five other sail configurations, finally settling on the Balance Lug which she currently carries.

When I designed boats such as Phoenix III, First Mate, and Periwinkle (and some others which have not yet been published), I decided from the outset that I would arrange the rig proportions so that several different rigs could be used on the same mast(s) and/or using the same mast step and partners. This results in boats which can be rigged in a number of different ways without having to make any physical alterations to the structure of the boat. I have already spoken about this a little in my post about Phoenix III and the Perfect Customer 

Here are some more photos to illustrate what I mean.
John Shrapnel's Periwinkle showing her standard Cat Ketch (Periauger) rig. Crew weight is a little far aft, but she is going nicely. This boat is very fine up for'ard, and needs to have weight kept out of the bow when pressed.
Same boat, but with the mizzen removed and the mainmast and mainsail moved aft to another mast step and partner. The rig is still perfectly well balanced, even though the 51sq ft mizzen has been removed entirely.
Here she is with just the mainsail up, stepped in the middle location, but with a substantial reef tied in. It may look calm in the little bay, but it was blowing outside on the more open water.
When it really starts to blow, or when the crew weight is low, you can set the mizzen in the central location. Once again the hull balance is fine, but the rig has been reduced to a snug 51 sq.ft. Even so, when this picture was taken, the boat was doing 8 knots by GPS! If you needed to , even this sail can be reefed.
This shows you the rig combinations on paper. Note how well the centres-of-area cluster near the centre-of-lateral resistance of the hull in all combinations. The key to this was careful proportioning of the sails and the mast locations.
This is another rig which can be used on the boat. The little flying jib is optional, but will help her a lot and will stand ok without shrouds or backstays. The gaff-headed cat rig is set on exactly the same mainmast as in the standard rig, so there is no alteration required to any part of the boat. This print is of an early sketch and some elements are not shown.
...and her you can see Graham Faulkner's Periwinkle with the Gaff-Cat rig, beachcruising on Fraser Island, Queensland, Australia (this was the second boat built, and Graham even made his own sail!)
This shows the three mast locations - the mainmast partners in the lower/left of the photo, the central position through the main thwart, and the mizzen partner through the stern sheets (aft thwart)
All of that thinking made me very tired! Actually, that is just me showing the comfortable sleeping position on either side of the centreboard case.
Build yourself a wooden boat, and then try some rig experiments - it is great fun.

Wednesday, July 13, 2011

Flint - a capable boat

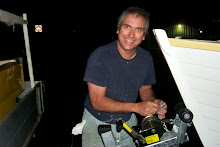
Eddie Guy with the very first Flint
I think it was sometime in 2004 that Eddie Guy came to me for a new rowing and small outboard boat. Eddie lived on an island in Moreton Bay, and being an experienced waterman, he used small boats to travel to the mainland, in all sorts of weather, to pick-up supplies. His previous boat was a stitch-and-glue, flat-bottomed rowing boat which he had built from plans. The design is well-known, and of a similar size to Flint with an emphasis on rowing, but with provision for mounting a very small outboard. The problem was that Eddie found her very difficult to keep tracking in a cross-wind or cross-sea, and the pounding was driving him crazy.

As a result of Eddie's query about a replacement boat, I drew Flint. The construction was the same as the flat-bottomed boat he was using - stitch-and-glue from developed panel shapes - but my design incorporated a V-bottom with extremely fine and sharp foreward sections in an attempt to avoid the pounding problems Eddie had encountered. The radical part was the amount of twist and bend in the bottom panels, which takes developable plywood panels to the limit. As it turned out, eddie said that, "....the boat just fell together..." Now Eddie is a very capable builder, but my experience has been that as long as you use good-quality plywood of the correct thickness, the boat is a breeze to build.
Very simple construction - no mold or strongback required
Eddie liked his boat very much, finding that she handled the choppy conditions of Moreton Bay well, without pounding, and tracking well.

I subsequently built one for another customer, and had the opportunity to test her.
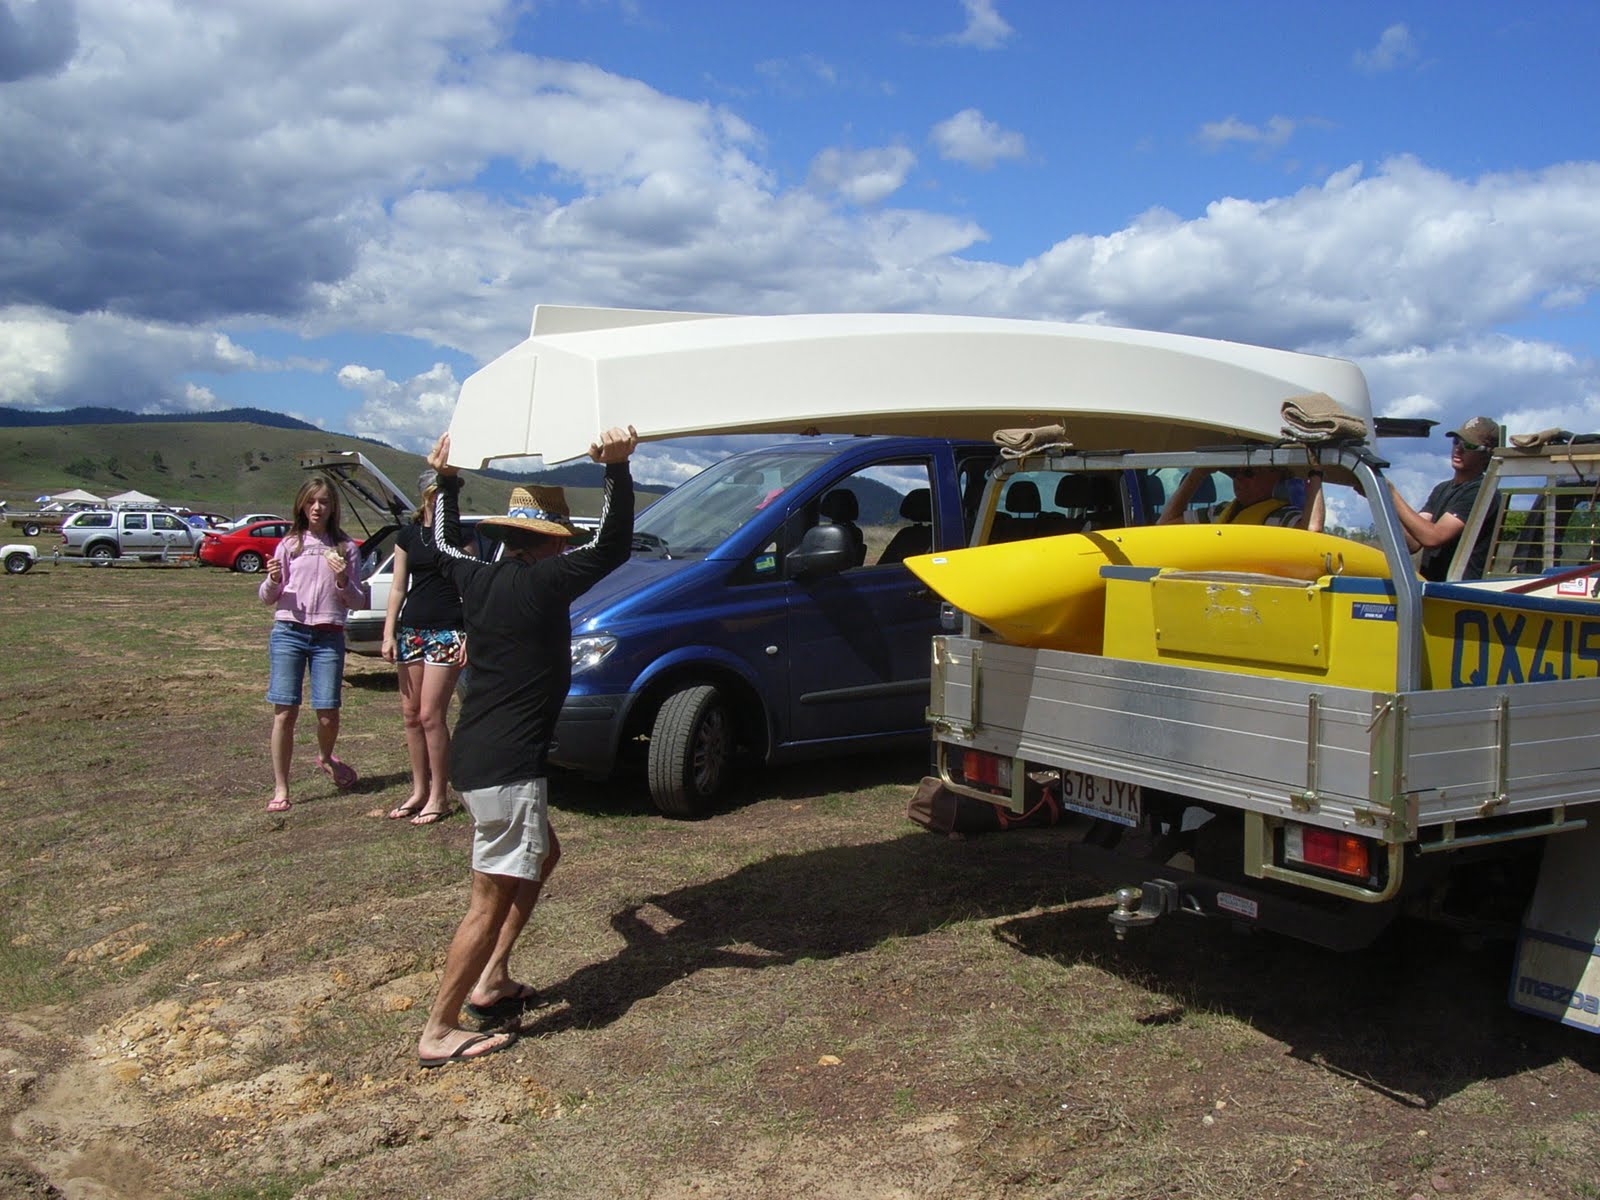
Car-topping was easy...
...boat was light...
...rowed nicely...
...and to my eyes at least, looked pretty.
There have been a lot of Flints built, and generally they get used. One person who has really inspired me is Alec Morgan. Alec has done a number of muti-day rowing expeditions and has also fitted his Flint with a polytarp "crab claw" rig. He doesn't use a centreboard or lee-board - just relies on her sharp sections and a steering oar for lateral resistance.
Alec's rig
Beachcruising under oars - healthy for mind as well as body
Alec has just sent through a nice email about a recent trip - only half-a-day, but it goes to show just what good fun can be had in a very short time, using minimal resources - very impressive

Hi Ross

In this part of the world it's that time of the year when the dominant swells travel north with the humpbacks and the estuary bars are safer for small craft going to sea.  A couple of weekends ago I set off early to row from Currumbin Creek to Point Danger.  With forecast 0.8 metre swells and light to moderate winds out of the south I packed the sail for a cruise on the return run.

Everything went to plan except for 10 or so seconds where the gps records a 15kph spike surfing a wave back in through the rivermouth  No harm done but a few exciting moments and half a dozen scoops with the bailer.

The gap in track is a result of me not knowing how to pause while taking photos.

26.06.2011
Distance:  20.46km
Time:  3:32:10
Max speed:  15km/h
Ave Speed:  6 km/h
Alec's Journey
An early start from Thrower Drive ramp in Currumbin Creek just beating the sun to the water.  The wind blew off the land from the southwest all morning hence the outward track hugging the coast sitting a 100 metres or so out from the surf zone.
My offshore rig includes a safety pack of the usual kit, V Sheet, flares, mirror, whistle boarding ladder, torch.  The kit can be reached from either side of the boat or when upturned sliding on the lighter red line.
The thicker rope tied to the centre mounted cleat on the transom serves as a boarding ladder if I'm in the deep.  The underseat tanks are filled with sealed plastic softdrink bottles.  I wear a floatation vest through the surf.  I have bailer attached on stretch cord 'at the ready' in a fishing rod holder.
Forgive the tardy stitching on the leathers.  The twine was a kite string I had so I waxed it afterwards with surf wax to provide some protection.  I planed the oars down to take out some weight and add a little spring so fitting was a bit harder than I planned.  The lanyard around the rowlock is a thing I do when sailing as I often drag an oar to leeward while standing and using my weight to steer. I get them at conferences all the time and they have handy little clips on them.  Having the oar in the water and ready means I often only have to twist the blade slightly to pull the bow off the wind and get her tracking again.  The trailing oar also functions as the leeboard when reaching.
Photo is looking north to Burleigh Heads (Bluff in centre of picture) with Surfers paradise further to the north.
Not much surf for the boardriders at Snapper Rocks the home of the Quiksilver Pro surfing contest.  To the right of the twin pines on the hill in the centre you can just make out the Point Danger lighthouse that sits on the border of NSW and Qld.
Making for home.  Wind remained in the sou-west.  Sun shining.  Muscles warm.  Lots of 9 km/h + readings on this leg.
Happy happy Alec
Well, what more encouragement do you need? Low-cost boating at its best, low carbon foot-print, good exercise, and rest for the mind.

I've drawn two rigs for Flint but her primary function is that of a rowing boat. A small outboard will push her nicely at semi-displacement speeds.
Here is Steve Dorrington in New Zealand doing 6.3 knots by GPS with a 35 year-old British Seagull 40-plus 2.5hp

Free study plans are available on my website in the designs section.